Ready to refresh your home’s look? Replace your old tiles with new, stylish ones! Follow our simple steps for a DIY project that promises stunning results and a beautiful transformation.
Introduction: Revamping your space by replacing old tiles can dramatically alter the appearance of your home, breathing new life into outdated or worn-out rooms. Whether it’s the bathroom, kitchen, or hallway, new tiles not only enhance the beauty of your space but also increase durability and ease of maintenance. In this blog, we’ll guide you through each step of replacing old tiles, ensuring you can achieve professional results with minimal effort.
Step 1: Gather Your Tools and Materials
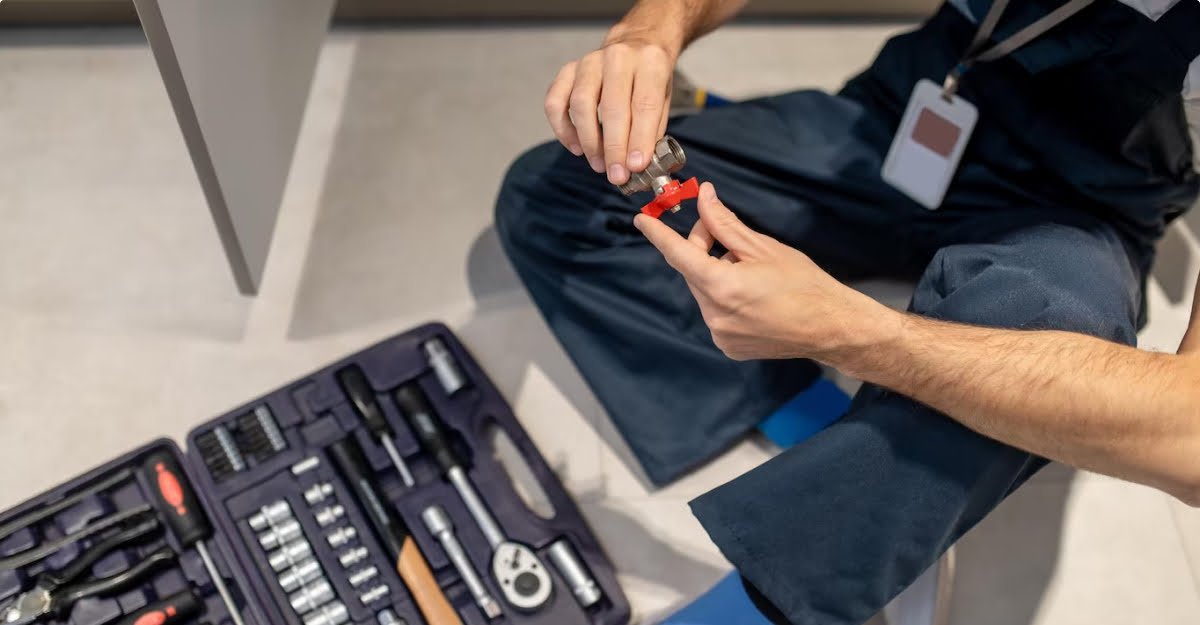
First things first, you need the right tools. Here’s your checklist:
- Tile Cutter: Essential for precise cuts on ceramic or porcelain tiles.
- Hammer and Chisel: For removing the old tiles.
- Protective Gear: Safety glasses, gloves, and knee pads.
- Adhesive and Notched Trowel: For applying tile adhesive.
- Tile Spacers: To keep your tile lines even.
- Grout: Choose a color that complements your tiles.
- Sponge and Bucket: For cleaning up grout.
- Level: To ensure your tile surface is perfectly flat.
Step 2: Remove the Old Tiles
Removing old tiles can be messy, so don’t forget to wear your protective gear:
- Clear the Area: Remove any movable objects and cover stationary items with a drop cloth.
- Break the Tiles: Start by breaking a few tiles with a hammer to create a starting point for removal.
- Chisel Away: Use your chisel and hammer to lift the broken tiles. Be patient and careful to avoid damaging the underlying surface.
Step 3: Prepare the Surface
Once the old tiles are out, it’s time to prep:
- Clean Up: Sweep and vacuum any debris and dust.
- Check for Damage: Repair any cracks or uneven areas with patching compound.
- Apply Primer: A good primer ensures a strong bond between the surface and new tiles.
Step 4: Plan Your Layout
Laying out your tiles before installation can save you from unwanted cuts and adjustments later:
- Measure the Area: Determine the total area to be tiled and plan the layout to minimize cuts.
- Dry Layout: Place tiles on the surface without adhesive to finalize your design. Adjust as necessary to ensure you have the most aesthetically pleasing layout.
Step 5: Install the New Tiles
Now, the fun part—installation:
- Apply Adhesive: Spread tile adhesive over a small area using the notched trowel.
- Lay Tiles: Place the tiles firmly into the adhesive, using spacers to maintain even gaps.
- Cut Tiles as Needed: Use your tile cutter for any custom cuts around corners or fixtures.
Step 6: Grout the Tiles
Fill the gaps and seal your work:
- Mix the Grout: According to the manufacturer’s instructions.
- Apply Grout: Use a rubber float to work the grout into the spaces between the tiles.
- Clean as You Go: Wipe off excess grout with a damp sponge to avoid it setting on the surface of the tiles.
Step 7: Finishing Touches
The last steps to your tile transformation:
- Seal the Grout: After the grout has dried, apply a sealer to help resist future stains and moisture.
- Cure Time: Allow everything to set and cure as recommended before using the space.
Conclusion: Enjoy Your New Space!
Replacing old tiles is more than just a renovation—it’s a transformation. Not only does it refresh the look of your space, but it also adds value to your home. With these easy steps, you can achieve stunning results that are both satisfying and cost-effective. So why wait? Dive into your DIY tiling project and enjoy the fruits of your labor!
